BLOG PHOTOGRAPHY: WORKING WITH BACKGROUNDS
For today’s post I thought I’d share some more blogging photography tips that I’ve picked up along the way. I’ve mentioned before in this post about struggling to find pretty, workable backgrounds for photos but I’ve learnt to work with what I’ve got. These are the categories I usually work around and until I win the lottery and buy a beautiful house for myself, I will always be trying to find new ways to work with them and hopefully this will inspire you to find your own backgrounds in your own location.
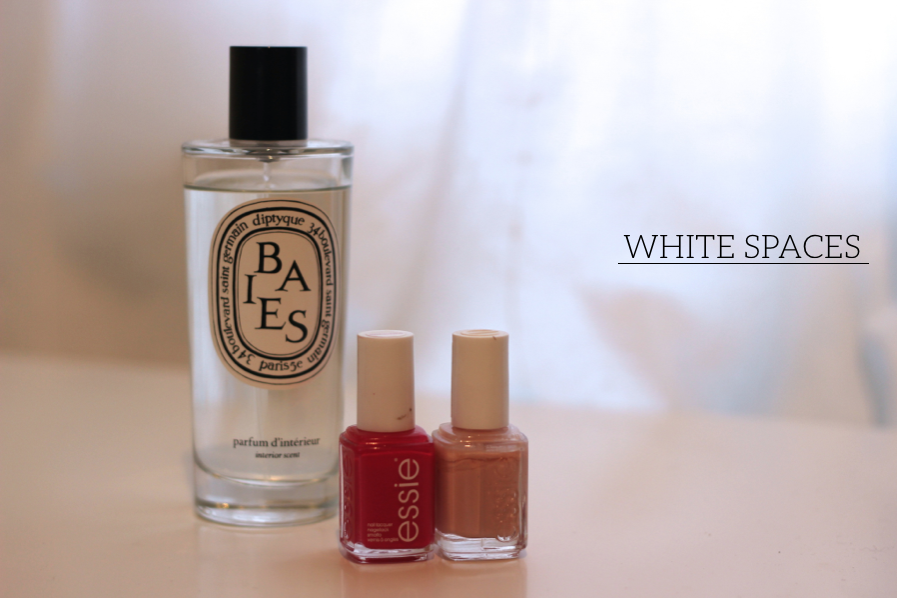
White Spaces //
The reason people like to photograph on white is because it adds a lot of light to the photo. I have a corner in my office that has a set of IKEA drawers in front of a window. On the window I have some cheap IKEA white curtains and when closed these act as a sort of soft box light, letting in soft light from outside and acting as a nice backdrop for my photos. If you don’t have a white surface, use white paper instead!
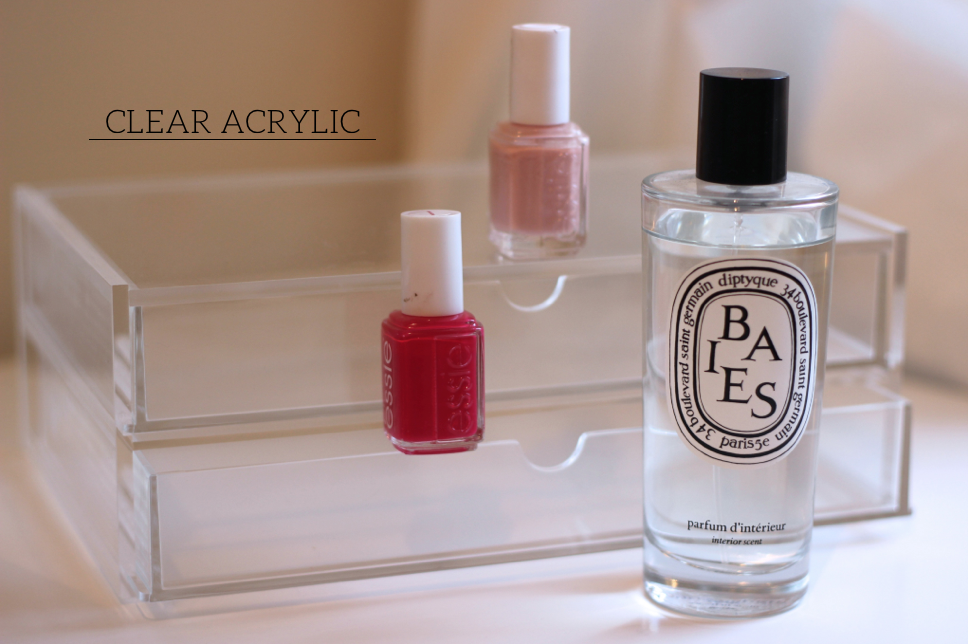
Clear Acrylic //
I often use my Muji drawers as props because the clear acrylic adds something a bit different to the photo whilst maintaining the light and airy feel. Products can be placed on top or placed inside, just make sure to keep it fingerprint free!
I often use my Muji drawers as props because the clear acrylic adds something a bit different to the photo whilst maintaining the light and airy feel. Products can be placed on top or placed inside, just make sure to keep it fingerprint free!
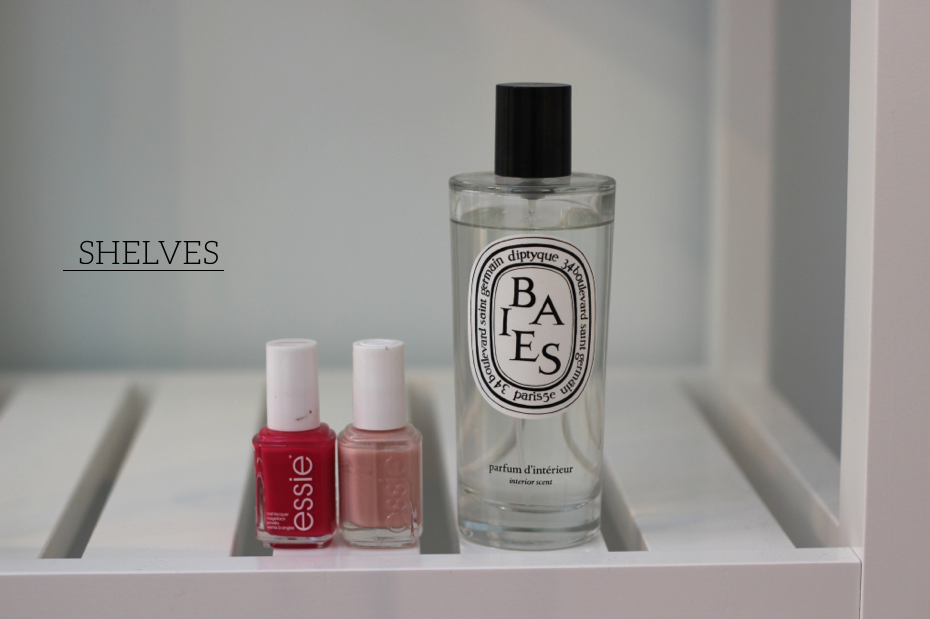
Shelves //
I have a shelving unit in my bathroom that I often use as a prop. Whether there are products blurred out behind or it’s completely bare, it’s a good location to take product photos.
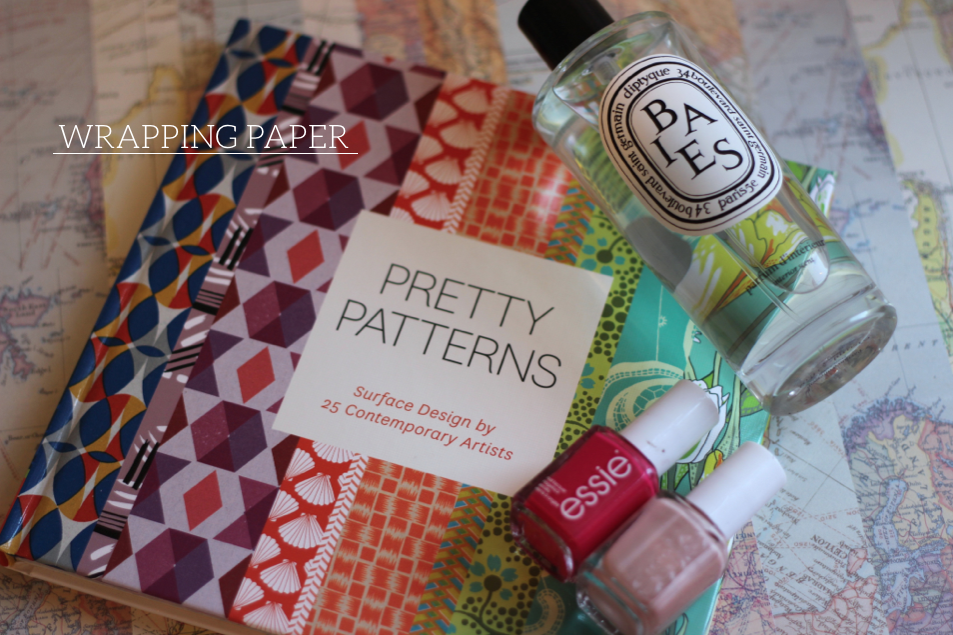
Wrapping Paper //
I like to collect brown paper and printed wrapping paper to lay onto a table to use for a background. Rich also bought me this book for Valentine’s Day that has a load of different prints inside so there will always be a new background to use. If you don’t have fancy wallpaper to use as a background, fake it with wrapping paper.
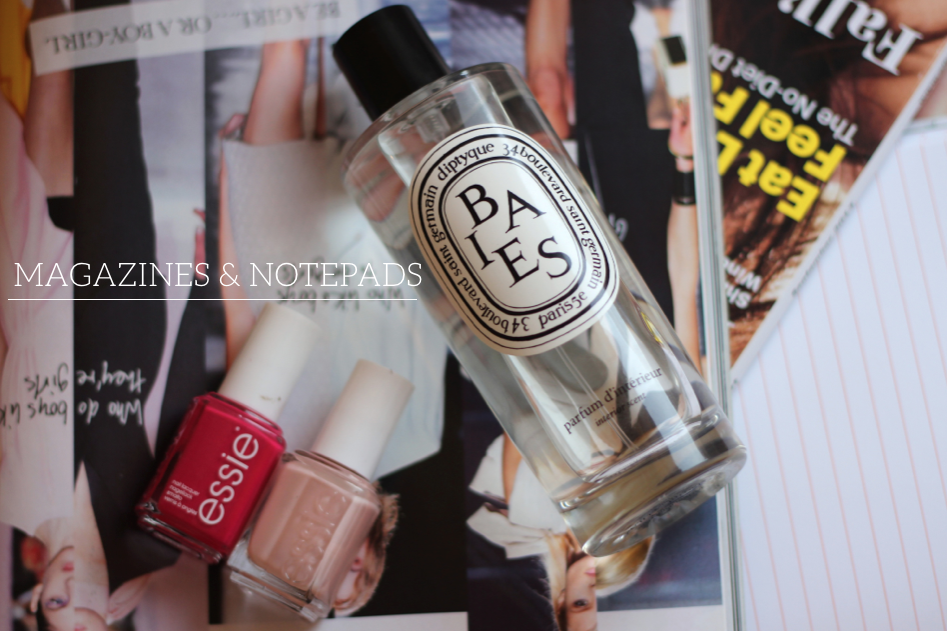
Magazines & Notepads //
I personally love the look of magazines and notepads piled up, but make it personal to you and use whatever you like. Creating layers with books adds something interesting and full to the photo.
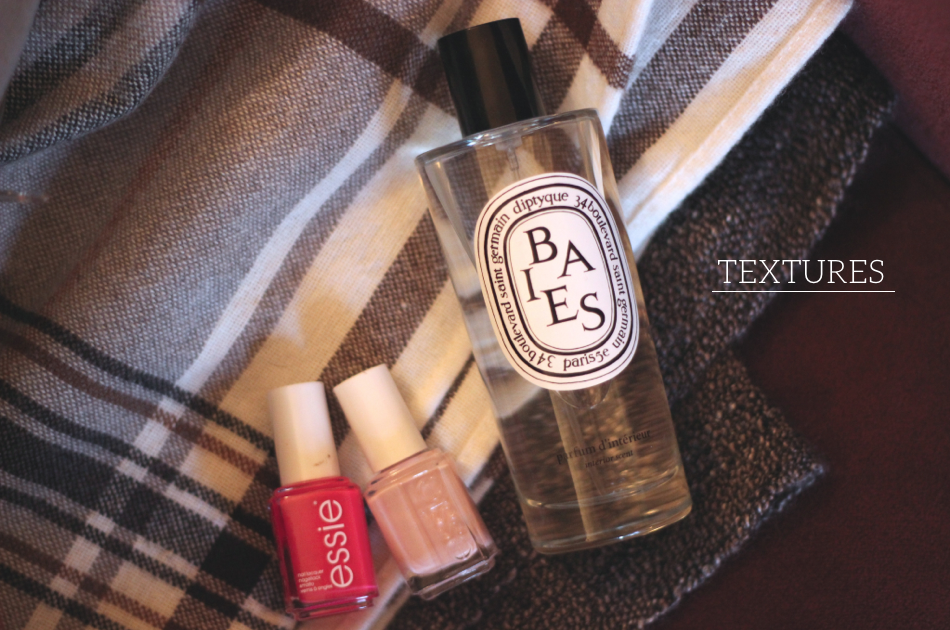
Textures //
Sometimes I like the clean, white look of a photo but then sometimes I like something more full and textured. For this I like to use fabrics from my bedroom and lounge, my IKEA throws have come in very handy!
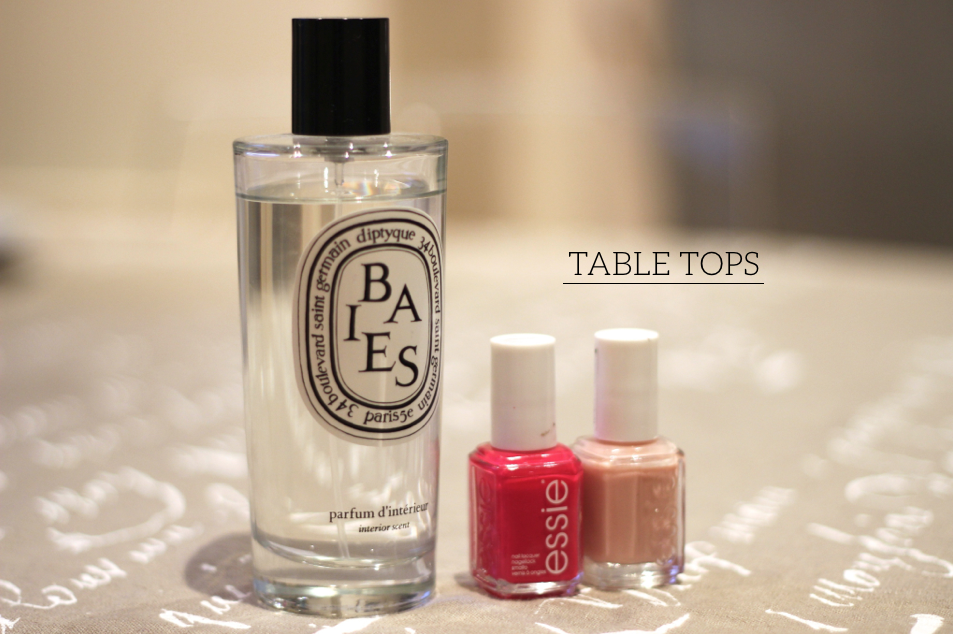
Table Tops //
If you like a blurry depth of field, try sitting your product on the edge of a table, bending down to the same height and taking a photo from there. The table gives you a lot of space to work with whether you leave it bare or place items in the distant background.
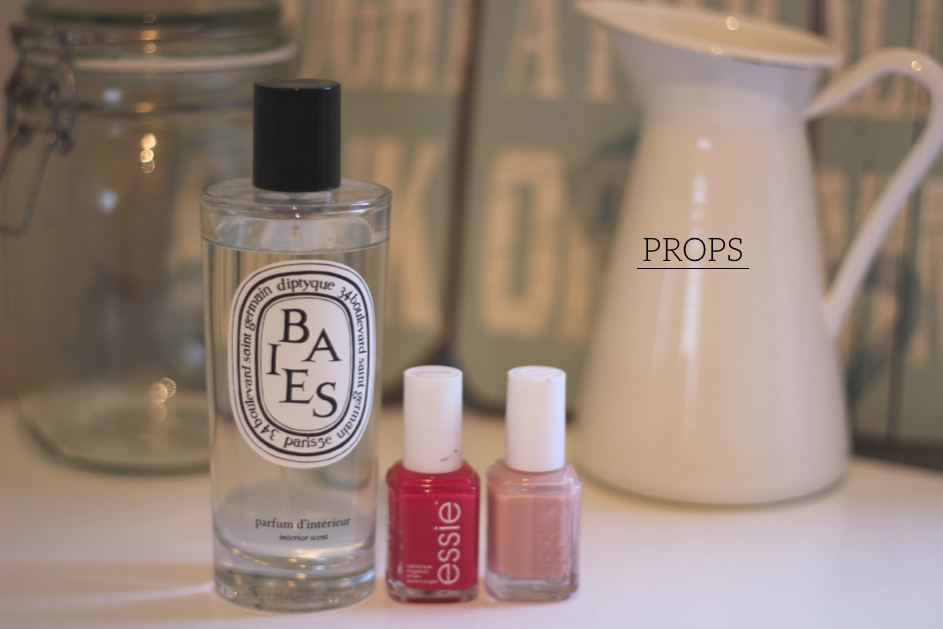
Props //
If I feel a photo is looking a bit bland and plain I sometimes like to place items behind so I have a small collection of props I use. Most of these jars and vases were found at IKEA but I tend to just walk around the house and pick up anything interesting I see. Candles work great as props!
I’m far from satisfied with my set up and find it challenging to achieve photos I’m happy with, but these tips have helped me be more creative with my backgrounds instead of giving in, admitting defeat and sulking that I don’t have a Pinterest-worthy bedroom. I hope these tips help guide you in a more creative direction, please let me know if they were helpful!
I have a shelving unit in my bathroom that I often use as a prop. Whether there are products blurred out behind or it’s completely bare, it’s a good location to take product photos.
Wrapping Paper //
I like to collect brown paper and printed wrapping paper to lay onto a table to use for a background. Rich also bought me this book for Valentine’s Day that has a load of different prints inside so there will always be a new background to use. If you don’t have fancy wallpaper to use as a background, fake it with wrapping paper.
Magazines & Notepads //
I personally love the look of magazines and notepads piled up, but make it personal to you and use whatever you like. Creating layers with books adds something interesting and full to the photo.
Textures //
Sometimes I like the clean, white look of a photo but then sometimes I like something more full and textured. For this I like to use fabrics from my bedroom and lounge, my IKEA throws have come in very handy!
Table Tops //
If you like a blurry depth of field, try sitting your product on the edge of a table, bending down to the same height and taking a photo from there. The table gives you a lot of space to work with whether you leave it bare or place items in the distant background.
Props //
If I feel a photo is looking a bit bland and plain I sometimes like to place items behind so I have a small collection of props I use. Most of these jars and vases were found at IKEA but I tend to just walk around the house and pick up anything interesting I see. Candles work great as props!
I’m far from satisfied with my set up and find it challenging to achieve photos I’m happy with, but these tips have helped me be more creative with my backgrounds instead of giving in, admitting defeat and sulking that I don’t have a Pinterest-worthy bedroom. I hope these tips help guide you in a more creative direction, please let me know if they were helpful!