DIY WHITE WASHED CRATE
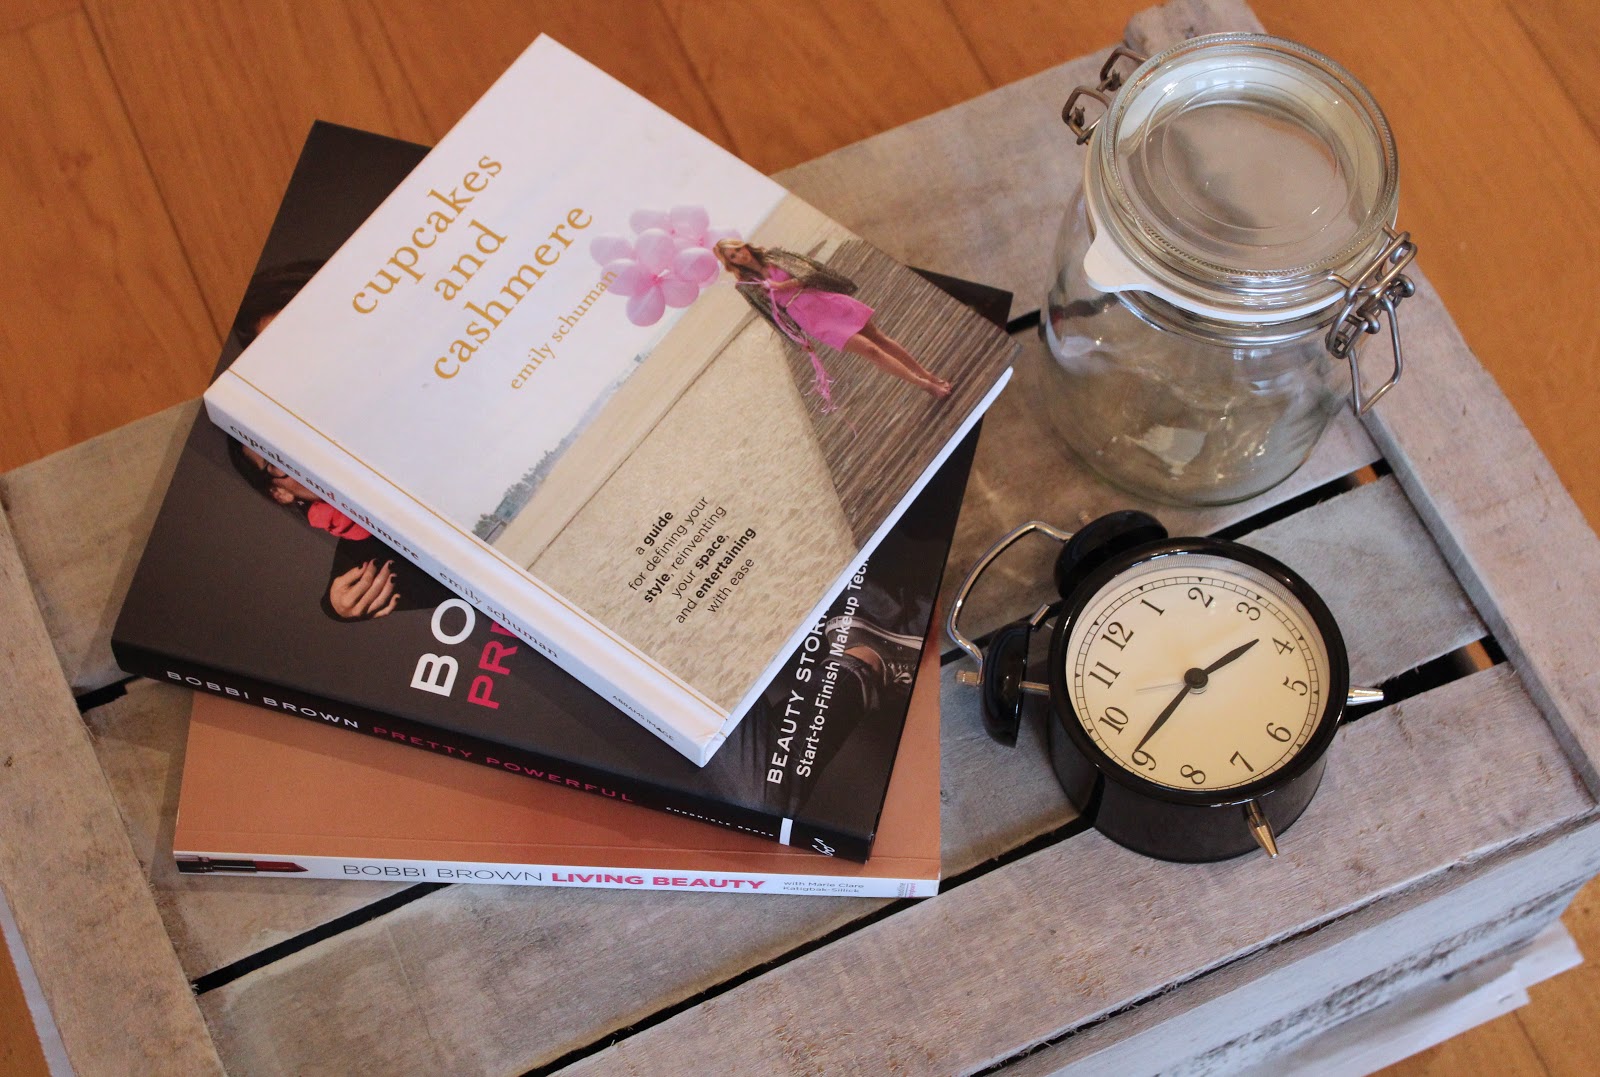
My house is quite old, it’s actually over 100 years old, and it’s dark and very victorian so when it comes to taking photos I struggle to find anywhere with the right feel for what I want. I’ve always worked around it but when I heard that my friend had over ordered some crates I thought that one might work well as a photo prop! So I made it my mission one Sunday to turn a dirty dark wooden crate into something a bit prettier and shabby chic.
Here’s how I did it…

She ordered her crates online, but as my dad pointed out “you can get one of those if you hang around the fruit market”.
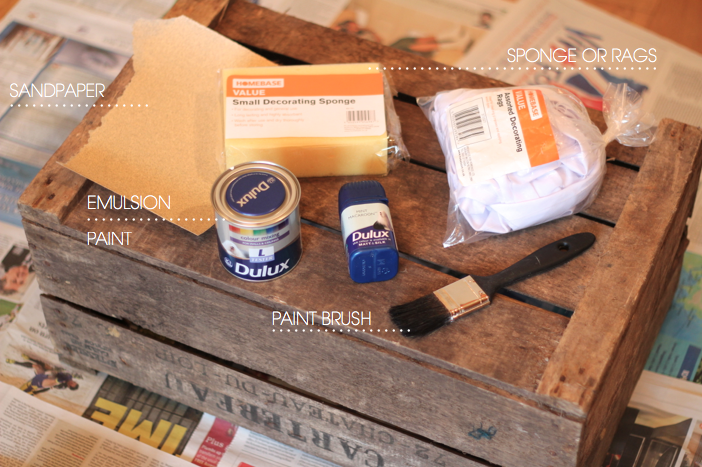
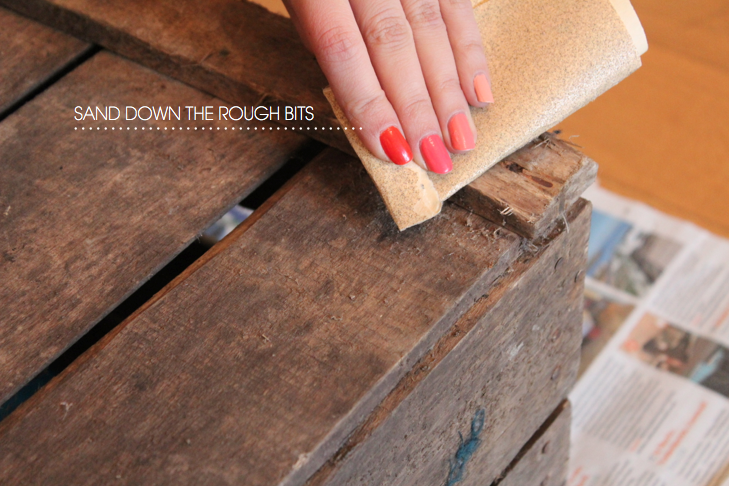
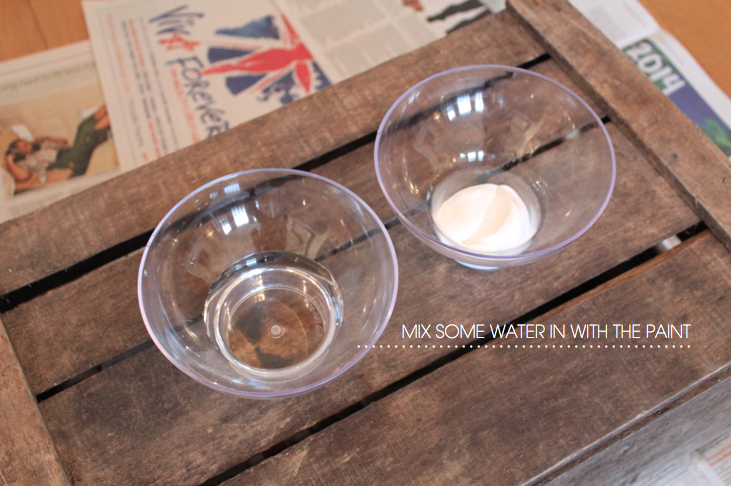
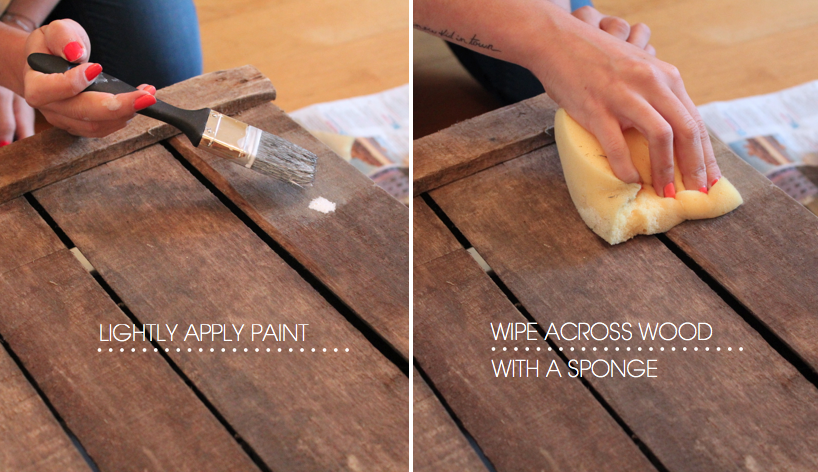
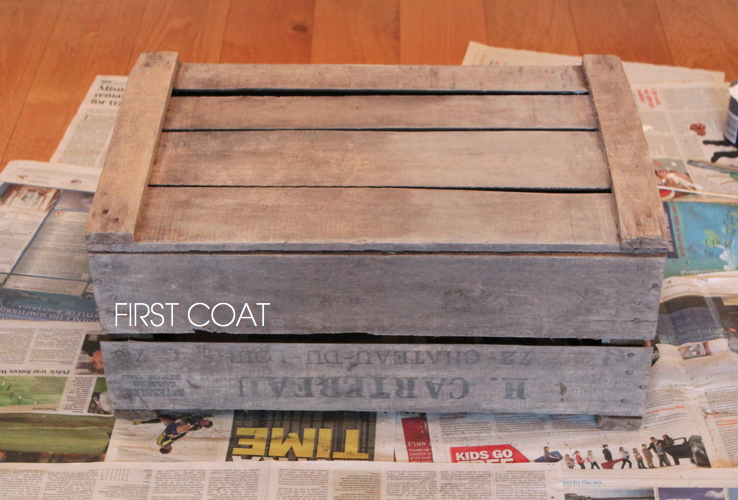
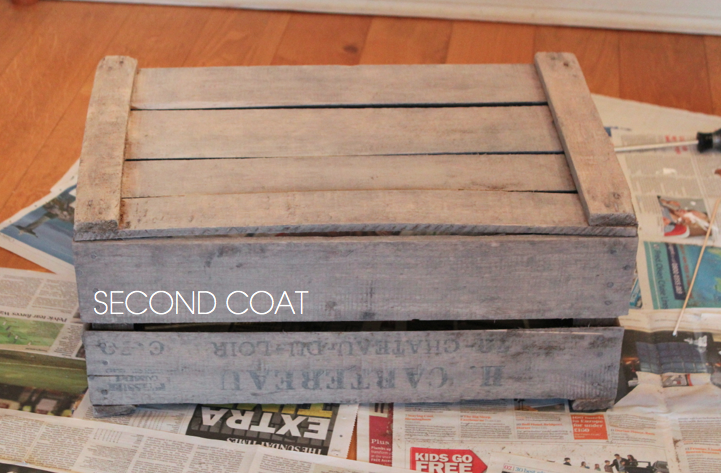
I started by sanding down the crate using a small piece of sandpaper. I didn’t want the finished look to be too polished so I just sanded down the really rough bits. I then mixed together some white emulsion paint and some water, quite a lot of water. My thoughts were to make it more watery at first because then I could always build it up if I wanted to. I applied the mixture with a brush in small sections and then rubbed it in using a sponge. I tried using a rag but didn’t like the finish as much as I did with a sponge. I did this all over working a section at a time. After the first coat dried I did it all over again for a second coat.
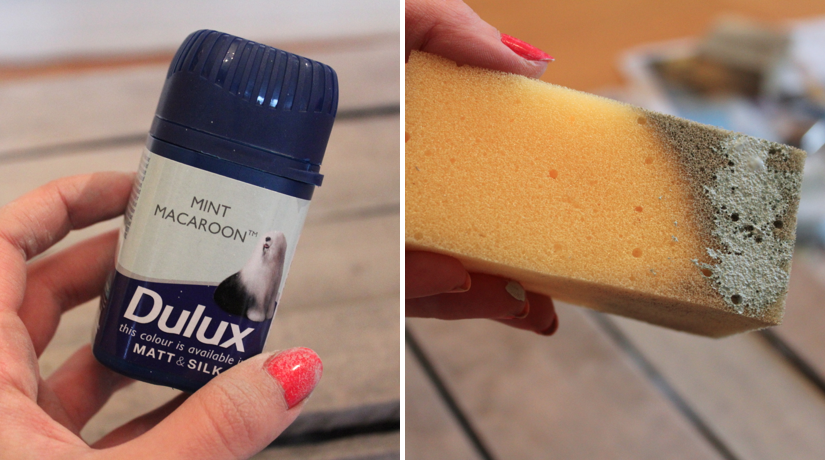
I also used a mint green paint (mixed with water) on one of the panels, just for something a bit different! As it dries be prepared for the paint to really sink into the wood, ff you don’t want this to happen start by priming the wood with some PVA.
After the whole thing dried I was left with a lighter, but not bright white crate which will be the perfect photo prop. I’m really looking forward to using this to take photos, so expect to see it popping up quite a bit on here!
I’m no crafty gal, but this was a fun little project and hey, everyone has to start somewhere! I think they’d make really nice bedside tables or TV stands if you stack them up. The opportunities are endless! I do love a bit of shabby chic don’t you??