THE WEDDING HAIR

So here it is, my first wedding blog post… sorry it’s taken a while. 2,400 photos later and I think I’ve figured out how to share parts of our day with you, it’s something I really wanted to do.
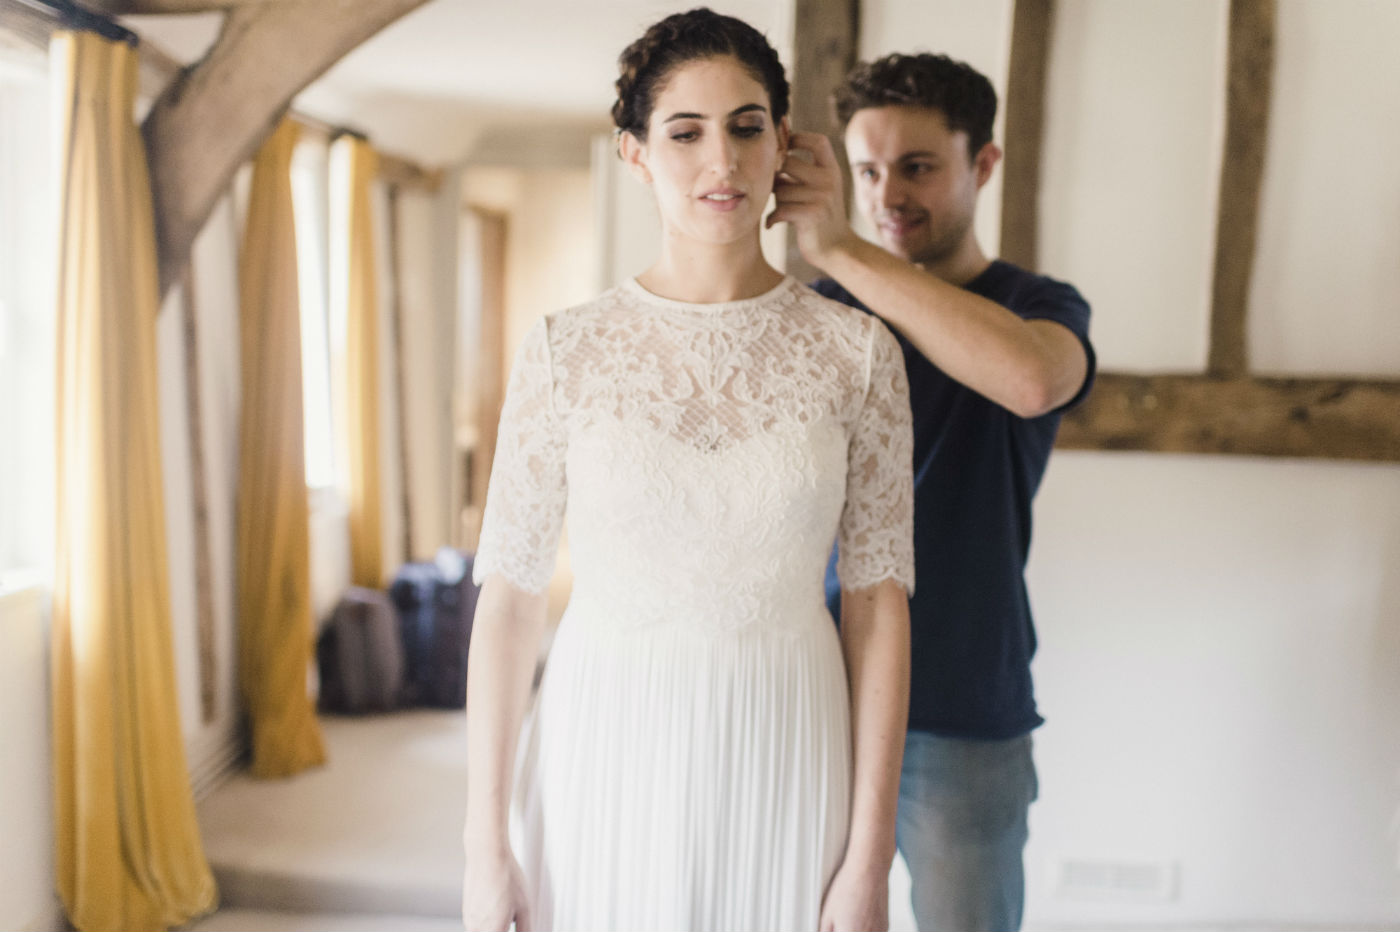
Let’s start with my hair because honestly it was one of the first things I considered. My rule for the most part was to be myself and not try and look particularly different or “special”. I know your wedding day is a special day but I’m always a bit saddened when I see brides looking completely different and sometimes not as nice as they do in their everyday life. But my hair was the one thing that didn’t quite fit in this rule and that’s because I knew having my hair down would be too stressful for me. The slightest bit of sweat or wind makes my hair frizz so having it down was never really an option. I wanted something up, but not a traditional up-do.
I’ve used Hershesons for years and during the months leading up the wedding, Jason at the Harvey Nichols salon perfected my colour making it slightly darker at the roots going into lighter balayage in the lengths. Luke Hersheson recommended Sean Nother for my wedding hair and so the trials began…
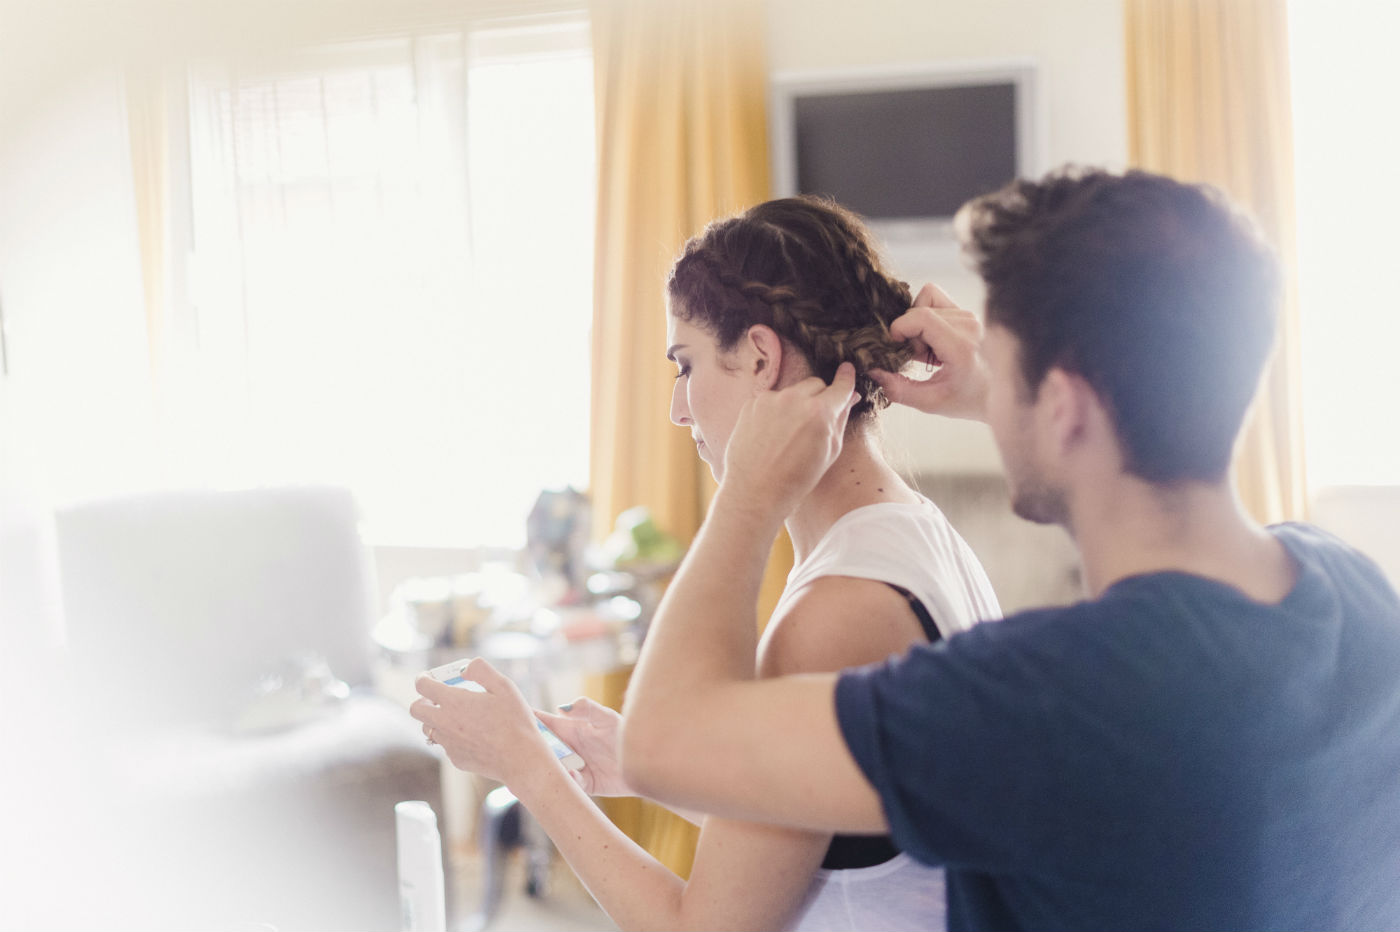
We met up a few times before the wedding but really, it all came together perfectly on the day. Sean is great, he’s patient, he listens and he’s incredible talented at hair styling. I think it’s important to have the right people around you on the day and Sean slotted in perfectly with our excitement but calm vibes.
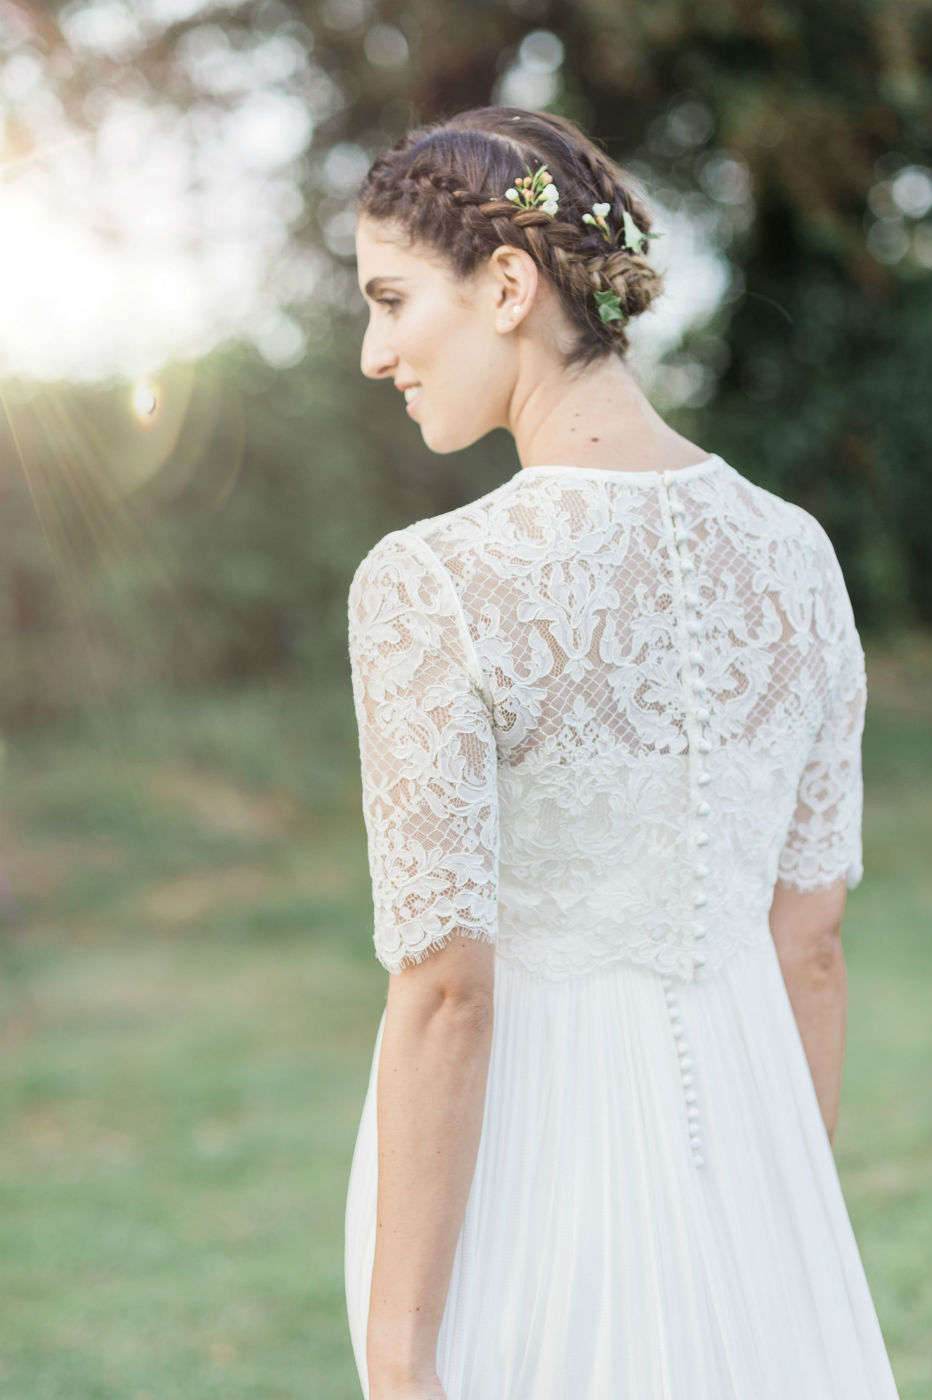
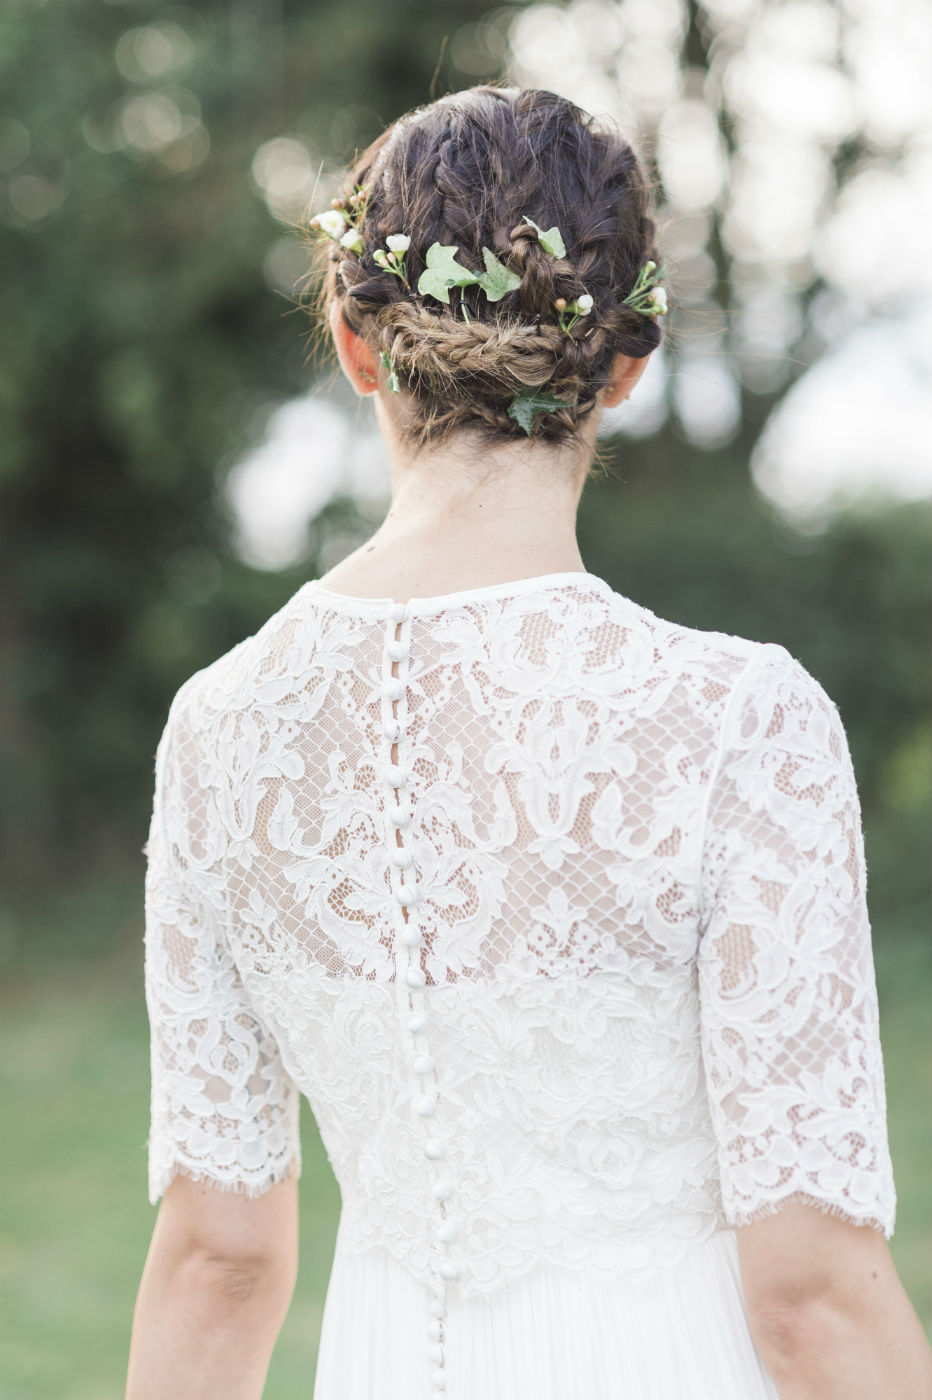
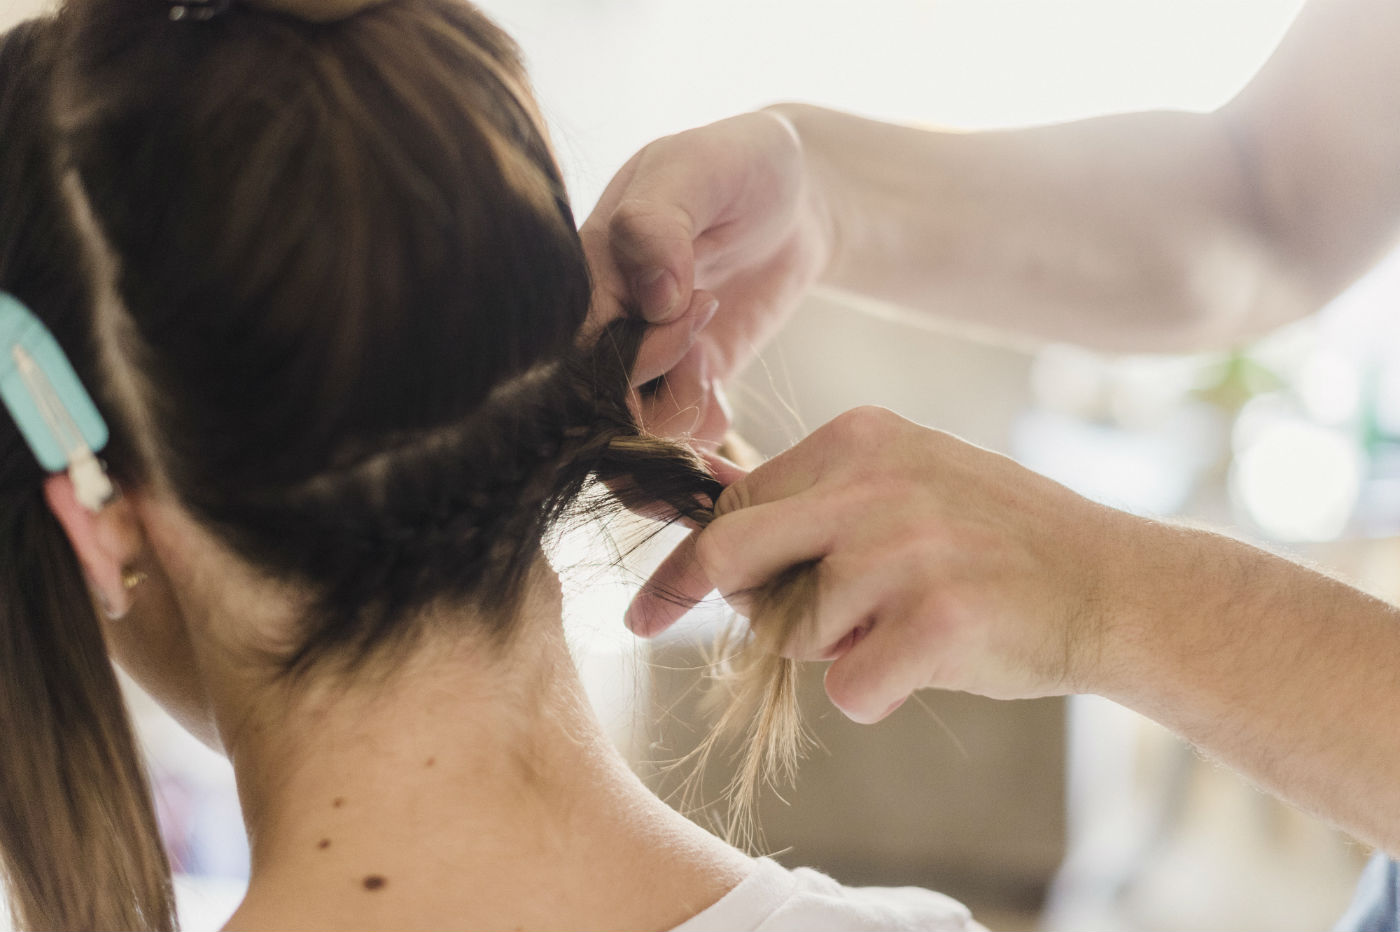
I started with the idea of a halo braid but after a few attempts I wasn’t sure how I felt about it, getting the right thickness of the plait was hard and I found the hair on top too smooth and flat. It also felt like too much of a crown and although I liked it at the time, when I looked back at photos of the trial I wasn’t keen. I then found this photo of Olivia Palermo and we used this as a idea to work from. I wanted soft plaits, but NO frizzy bits and I didn’t like the idea of flat bits of hair on the top.
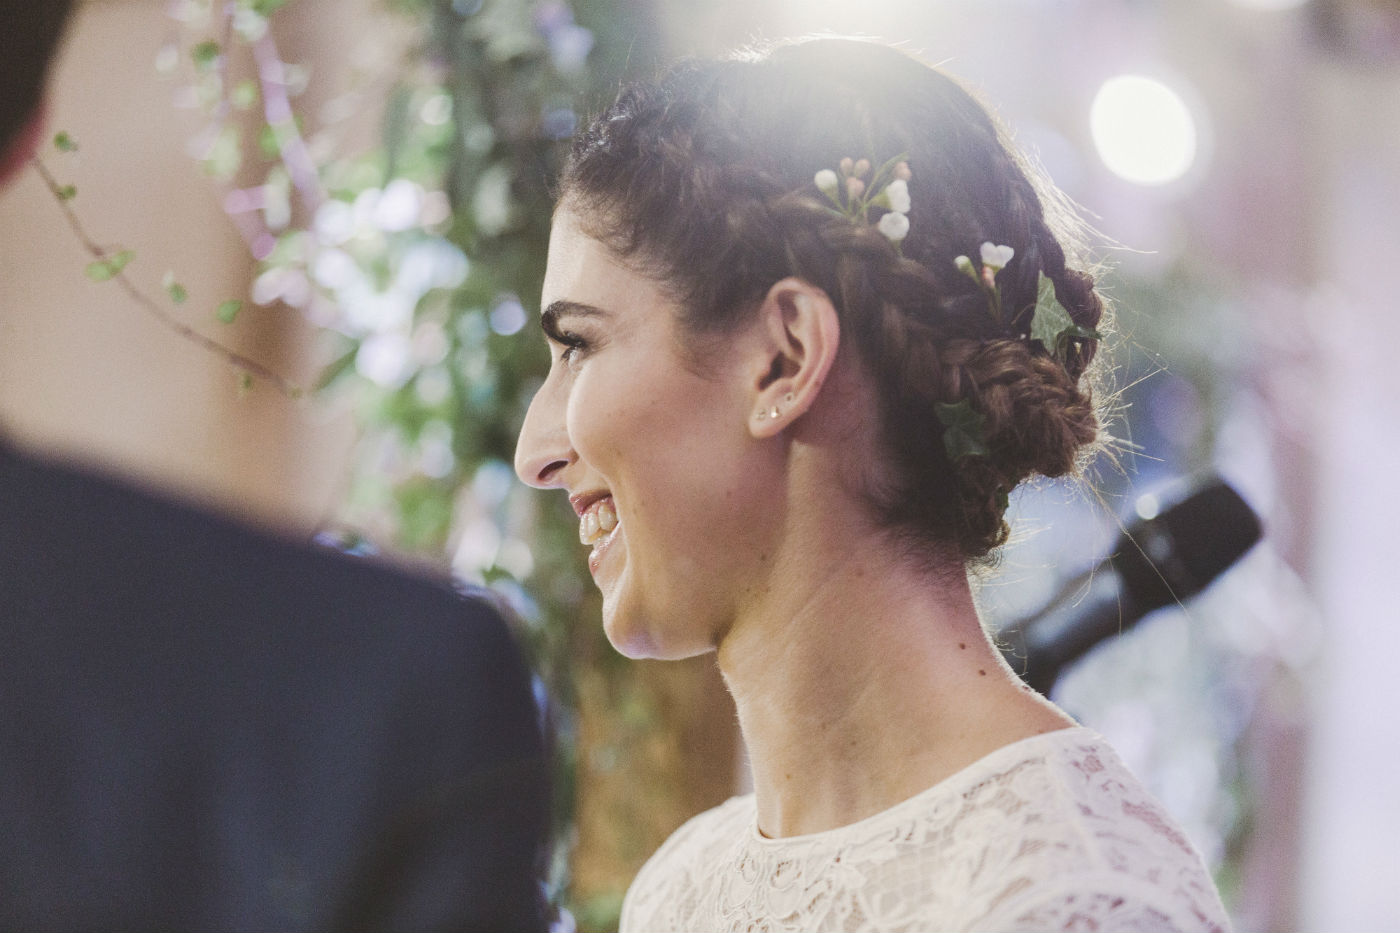
I was so happy with the final look, it stayed in place all night (even with the most crazy dancing), it felt comfortable and I think it looked great. Sean wrote out a step by step guide to how he achieved this look, so I hope it’s helpful to any of you who attempt to recreate it or want to show this post to your hair stylist!
Sean’s Notes
Firstly as a footnote, this hairstyle and the majority of updo’s work better on slightly dirty hair. This is simply because freshly washed hair is quite soft and therefore can be harder to control.
- Prep the hair. I used John Frieda beach waves and some hairspray to roughen the hair up, but any old surf or texture spray will work. For a greater sheen use an oil based texture spray.
- Firstly section off the back, in a horizontal section from one ear lobe to the other. The majority of the hair on the top half should be sectioned off out of the way.
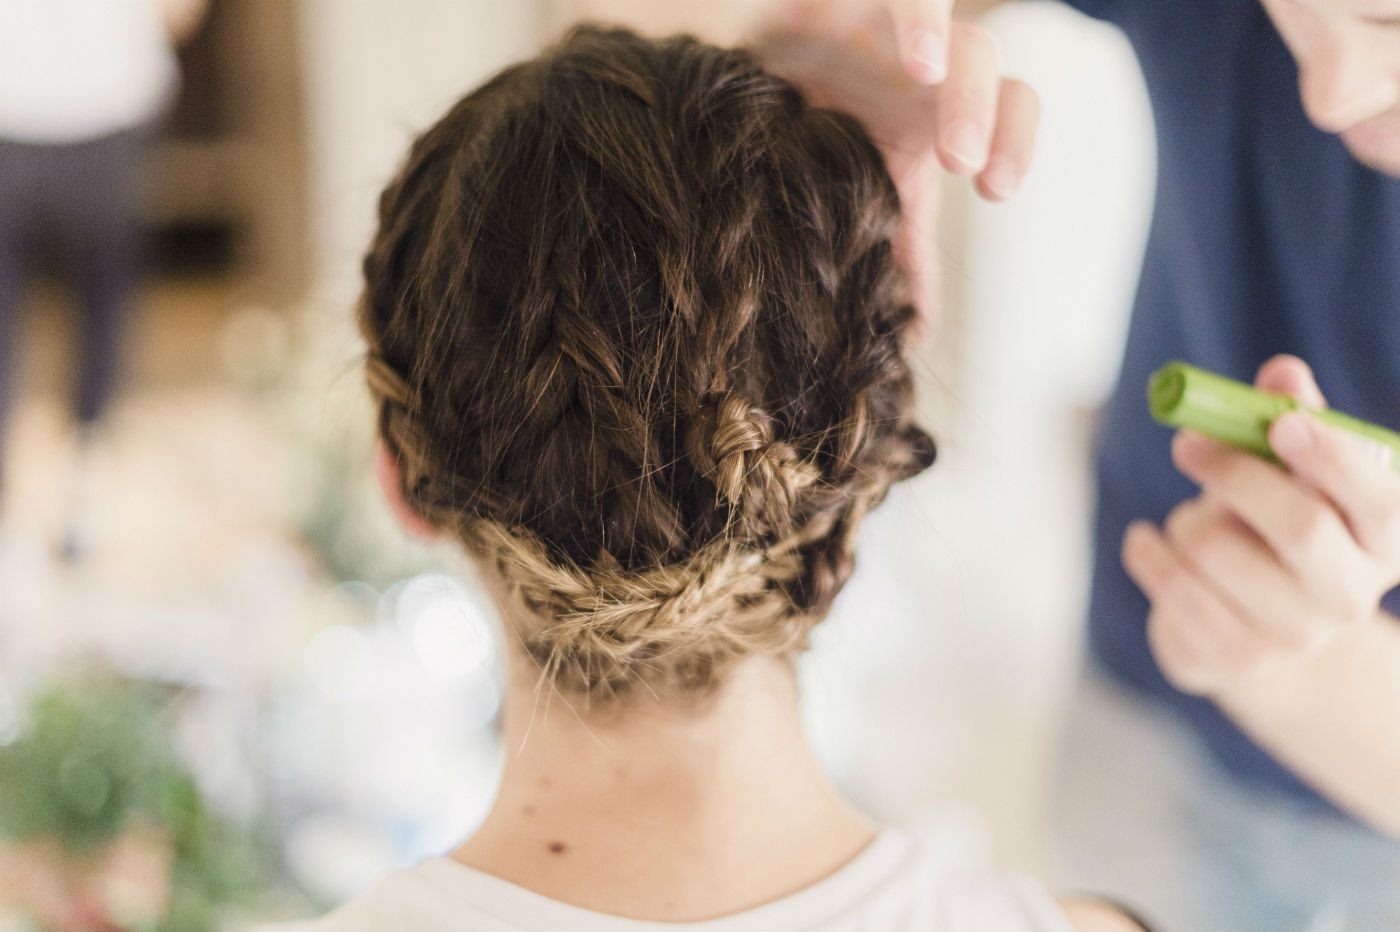
- French Braid the section from one ear lobe to the other diagonally across and carry on braiding the ends. Tie off with a clear elastic band and pull the braid out a little so it’s not so tight. Fold the hair hanging out back on itself and grip into place. The reason for this was to firstly keep the hair off Lily’s neck preventing it from becoming frizzy while she was dancing. Secondly it acts as a base foundation for the knots at the end of the look.
- Now you can work on the top. For Lily’s hair I put it in a side parting just off centre working back to the crown, but this style can work in any parting you like.
- Once the parting is in, and depending on how thick you want the braid, place 3 or 4 fingers on the hairline. Where the fourth finger lies, follow that thickness all the way around the side and to the back of the middle of the head. Repeat on the other side of the parting until a halo shape has formed.
- Clip the round halo of hair which was past the four fingers on top, out of the way.
- Start braiding either side of the parting. Start at the parting and work all the way around the side and to the back. For Lily I did a Dutch braid so it’s sat on top of the hair, which firstly makes the braid more defined, but also pulls any loose baby hair flat. This was important as Lily’s hair tends to frizz up at the front and so it ensured it would stay looking neat all day. (You can do a normal braid, both work really well, although I would stress a great tip is leaving a little hair out on the hairline by brushing small pieces out with your fingers. The reason for this is that it just means the braid looks a little softer and more romantic, an extremely tight clean braid can look rather severe and on occasions can work, but not for a wedding!)
- Once either side is braided and the ends are tied off with elastics, start pulling them apart a little, giving them a messier texture and a thicker look and feel. Leave them out while you finish the top.
- Using an olive oil hair stick, you can clean the hairline up and stick down any stubborn baby hairs which you don’t like.
- The hair left on top needs to be split in two, although it can be done in one big piece. Split it evenly in half in a diagonal section from the top left to bottom right. Braid each section in a normal French braid and pull apart to roughen it up.
- Now you’re onto the final stage. Tie the two side braids together in a knot, then knot again. Pin in to place with small black pins.
- Double knot together the two remaining braids from the top section and start pining in to the knot created by the two sides. Mould with fingers and any loose strands can be gripped in or left out, depending on how relaxed you want it too look.
- Lily had sourced some ivy and small wax flowers which I pushed grips through the stems and then worked into the hair. I believe there’s a fine line between too many flowers in the hair and too little. Furthermore, smaller flowers work better.
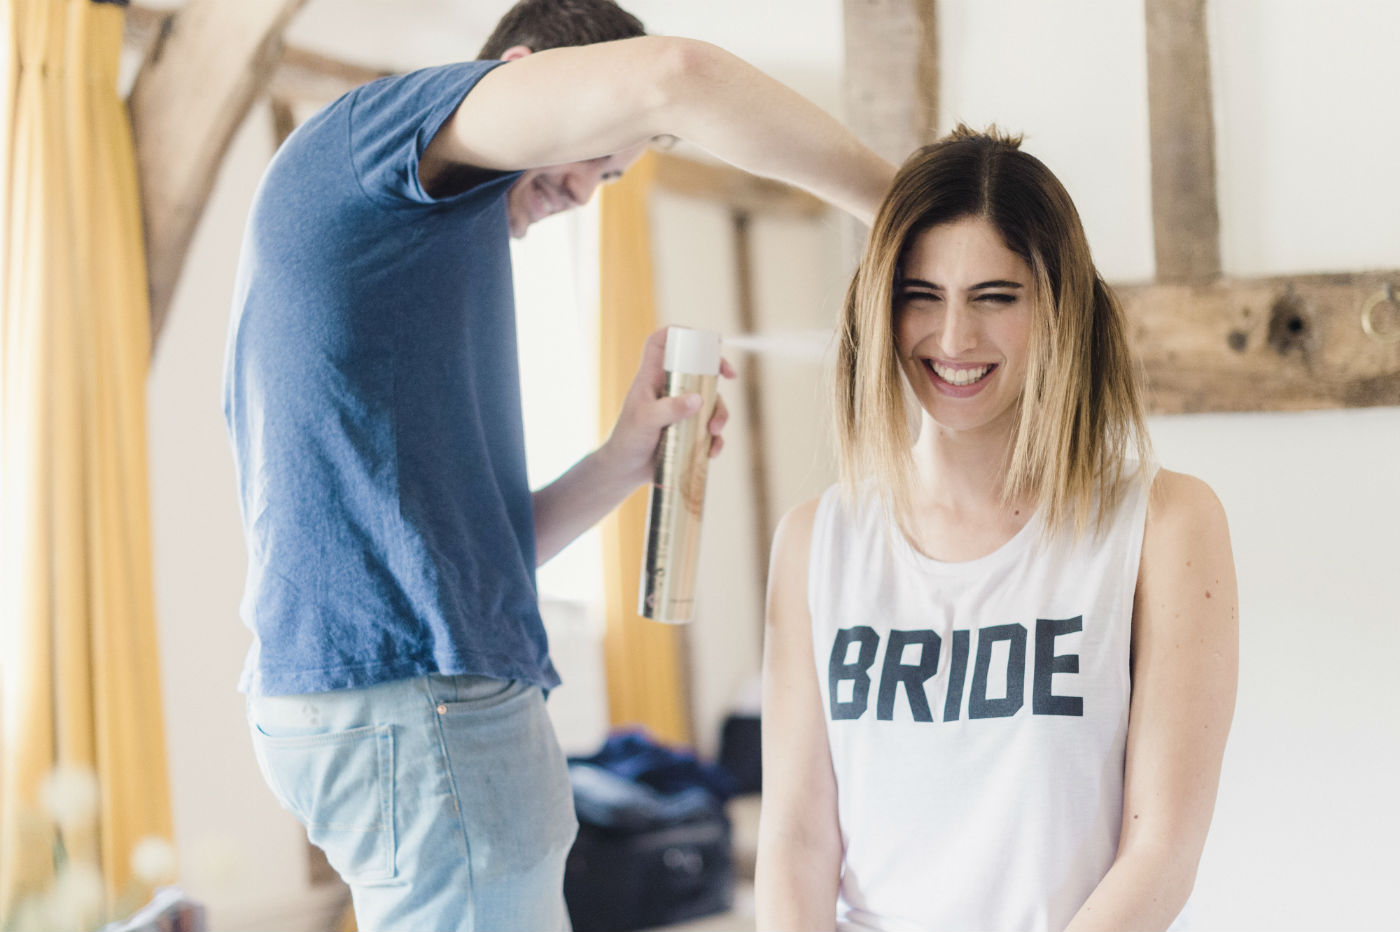
- Finish with an anti humidity hairspray.
I hope you enjoyed hearing about my wedding hair. There will be more blog posts coming soon, I’m working on it!
Photos by Razia N Jukes