THE DIY MANICURE
In the past few weeks I’ve been trying to give my nails the care and attention they need, as I paint them a lot so they need looking after. Here is my current DIY manicure routine from start to finish…
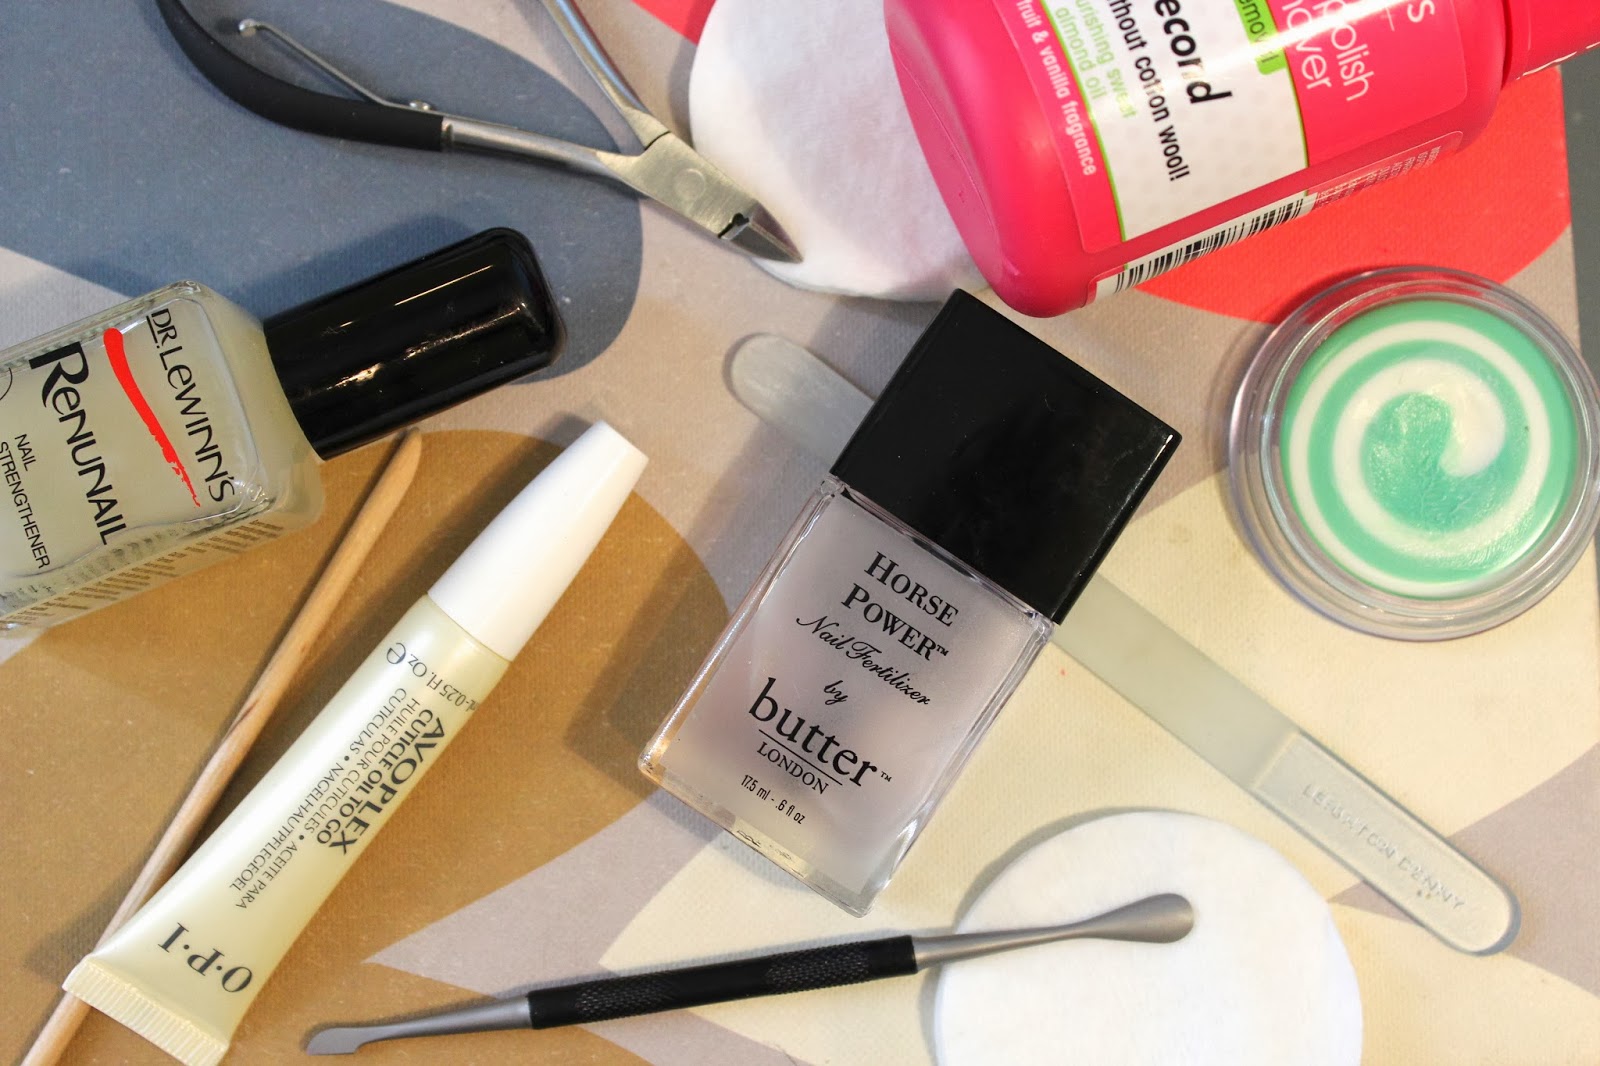
First of all I remove all traces of past polishes using the Bourjois magic nail polish remover. I then take my psychedelic Sally Hansen cuticle eraser and rub a small amount of the balm onto each cuticle. After leaving it for a minute or so, I take my cuticle pusher and push them back very gently. If I need to, I’ll remove any excess using my cuticle clippers, but I hardly ever need to use these and they freak me out. I then take a bit of nail polish remover and make sure all the cuticle balm is removed from the nails. I like to file my nails using something gentle like the Leighton Denny glass nail file or the Style File works well too. After shaping my nails to how I like them (quite short and square), I then paint my base. Once a week I like to use the Dr Lewinns Renunail nail strengthener, but if I’m just using a base coat I’ll use the Butter London Horse Power Nail Fertiliser. Whilst painting my nails if I make any mistakes around the edge, I clean it up using some cotton wool twisted around an orange stick and dipped in nail polish remover. It’s really easy to use around the nail for precise removal. After painting and using my Seche Vite top coat I like to use some cuticle oil and the one I’m trying at the moment came in a Birchbox. The O.P.I Avoplex Cuticle Oil to Go is really easy to apply and smells like delicious watermelon, so I’m a fan!
It’s nice to give yourself a manicure if you have a bit of time at home and want your nails to look nice for the week ahead. It’s a good Sunday routine, so maybe try it tonight?